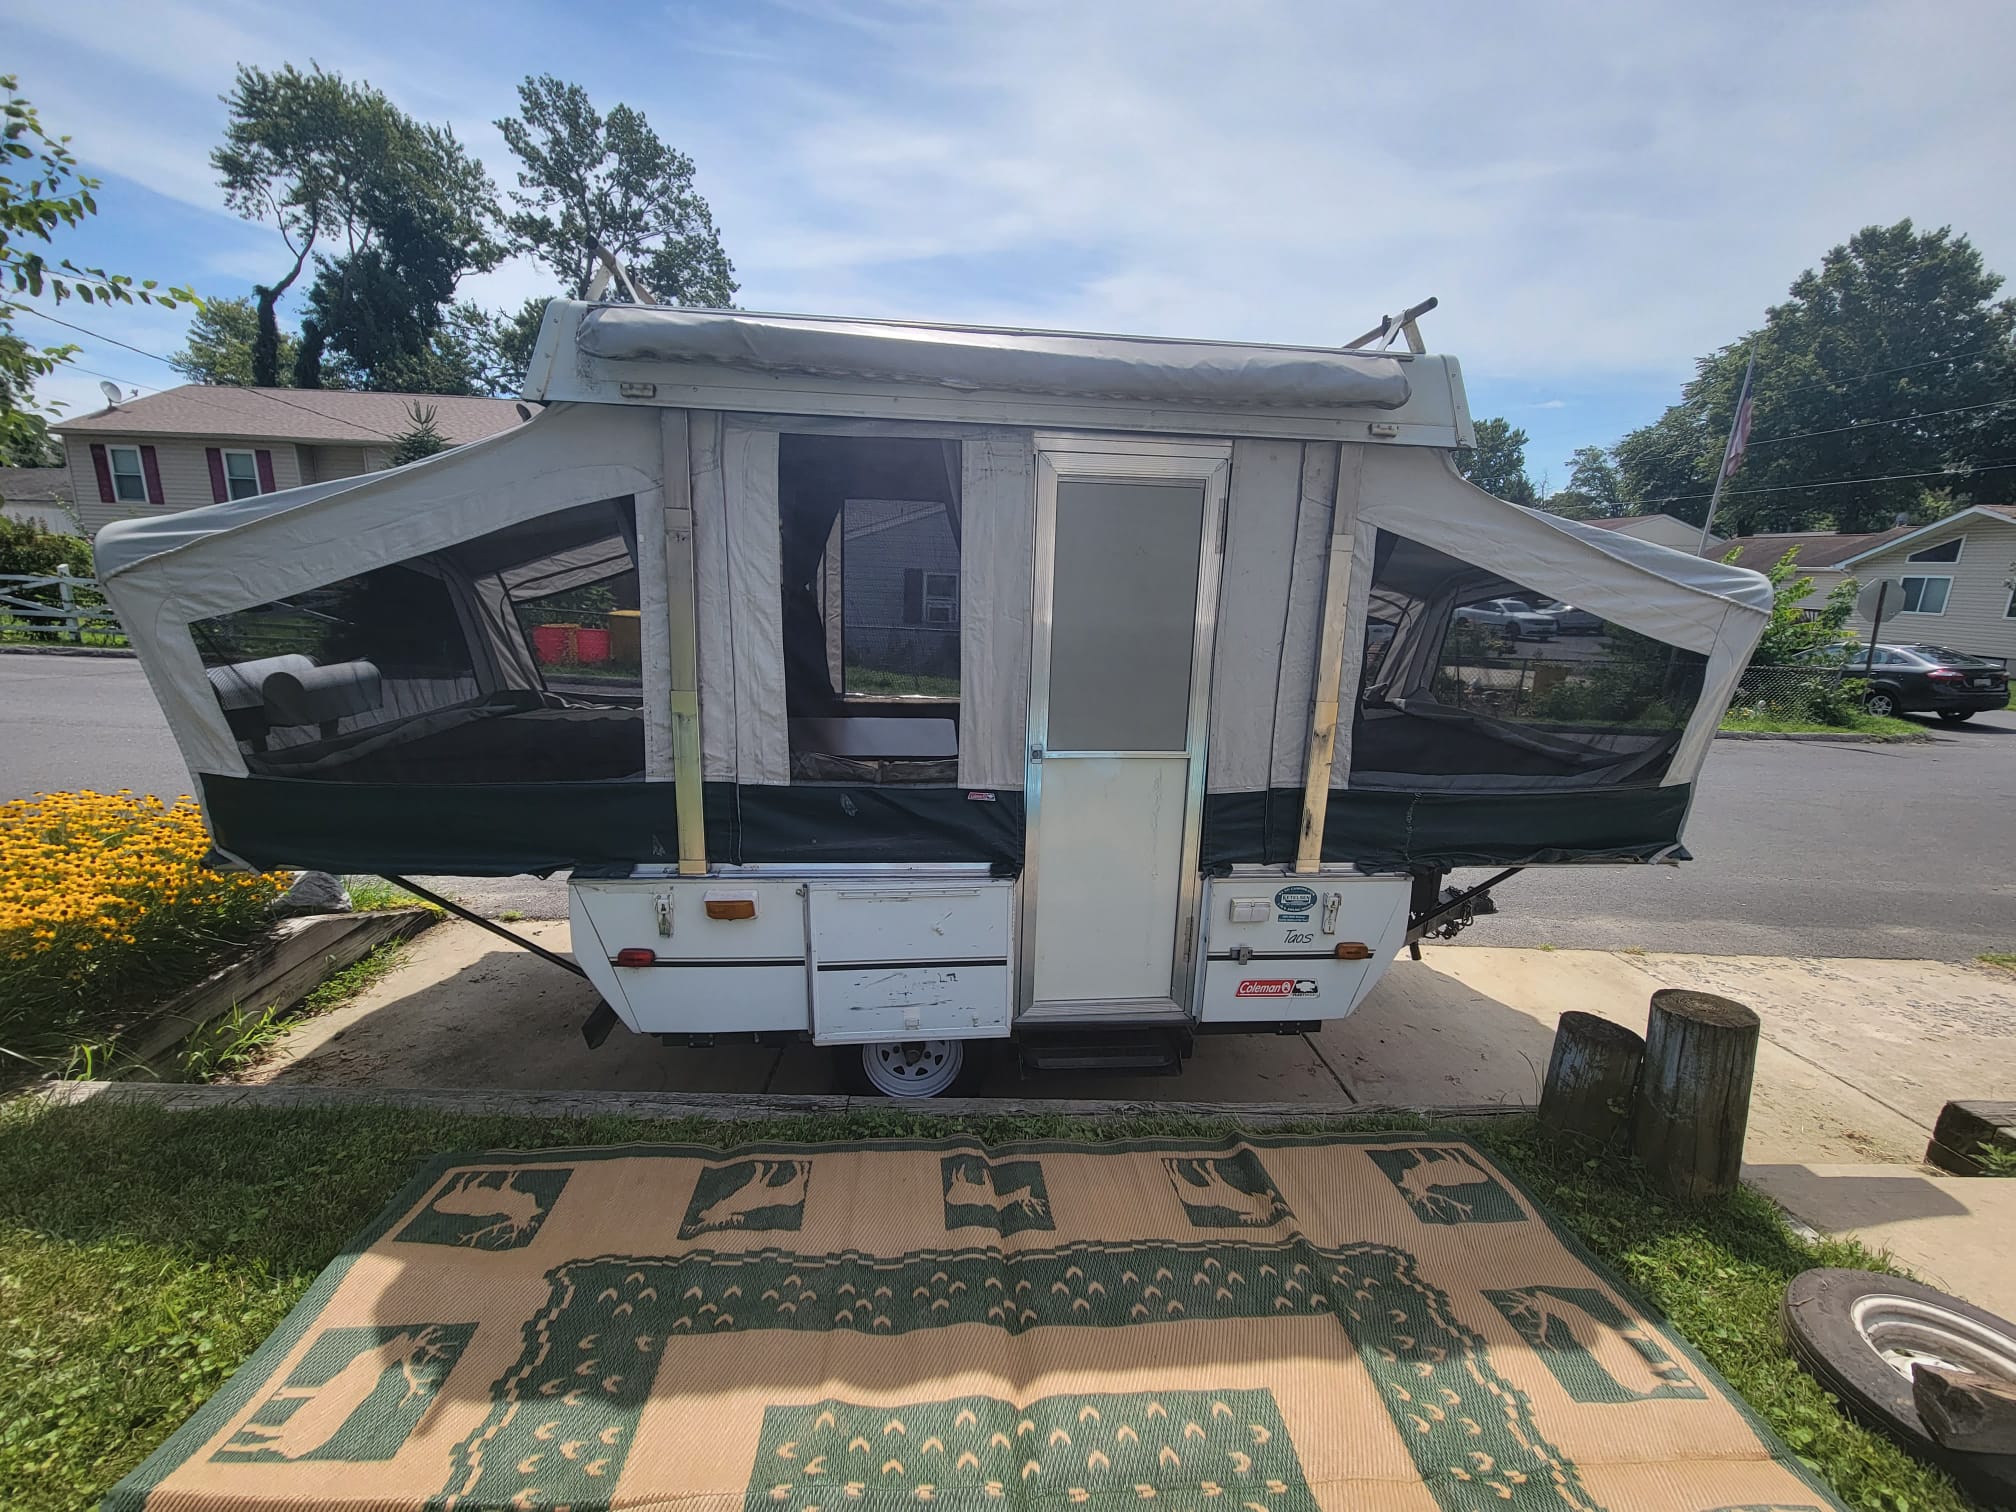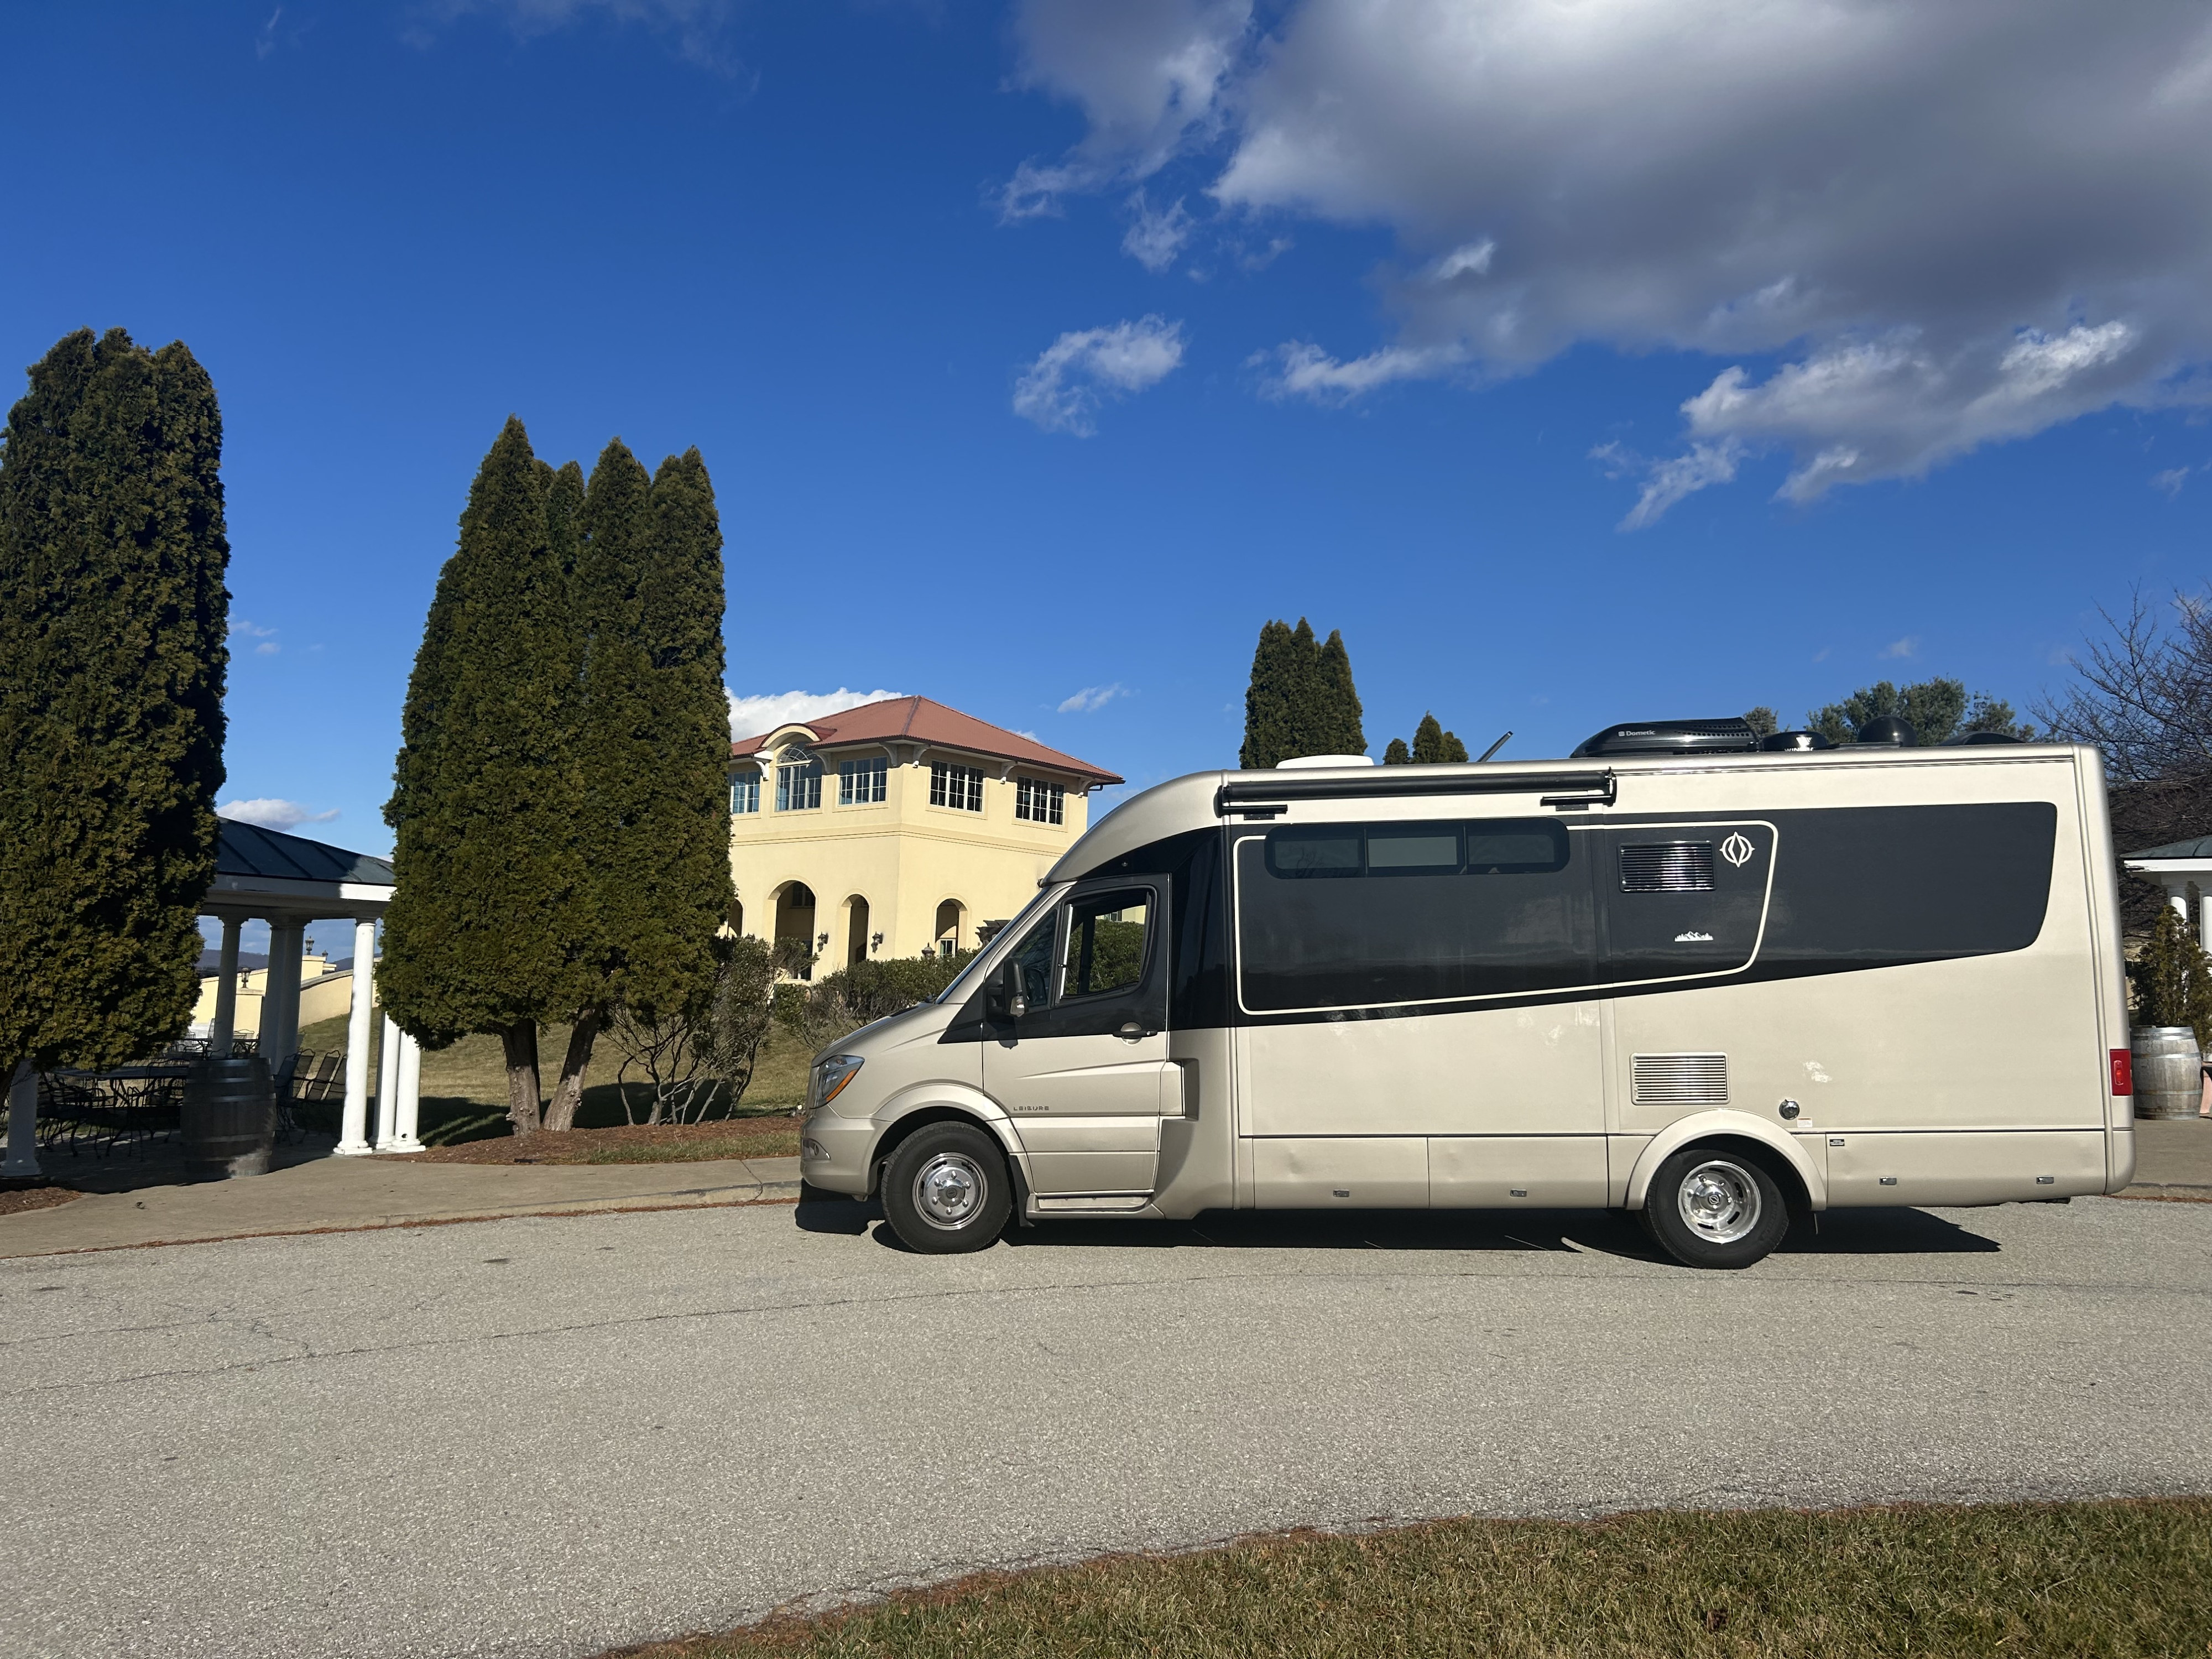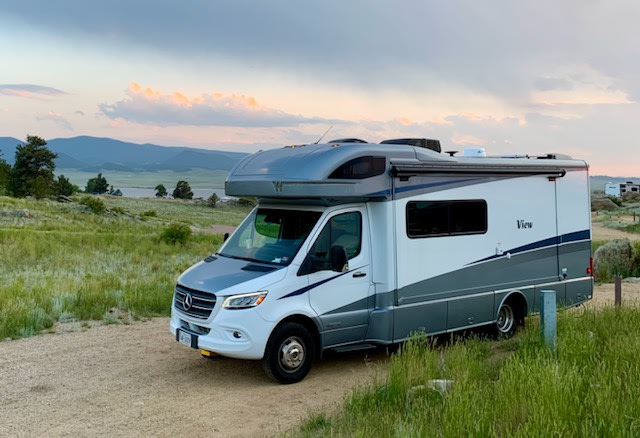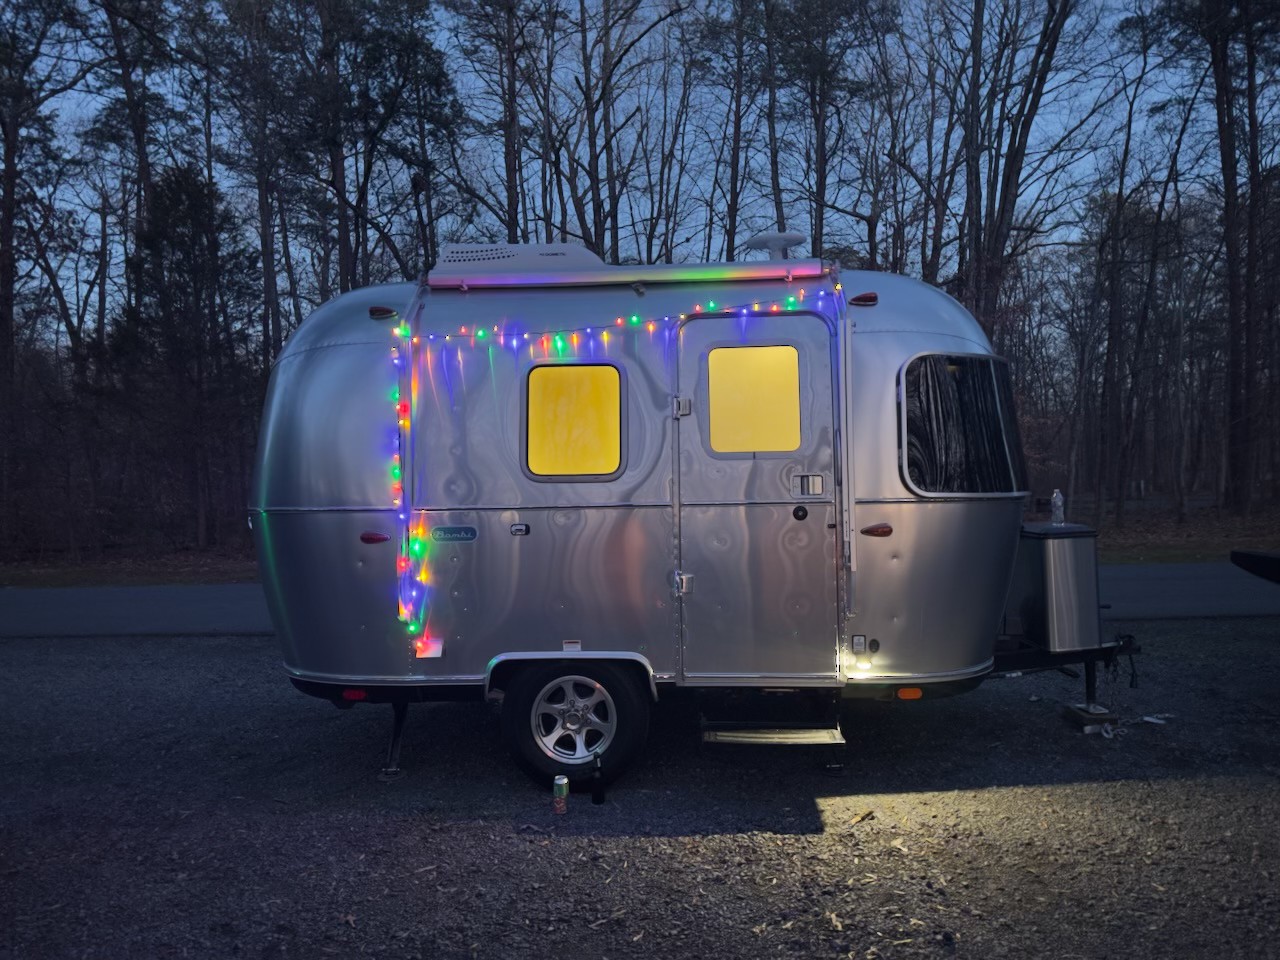

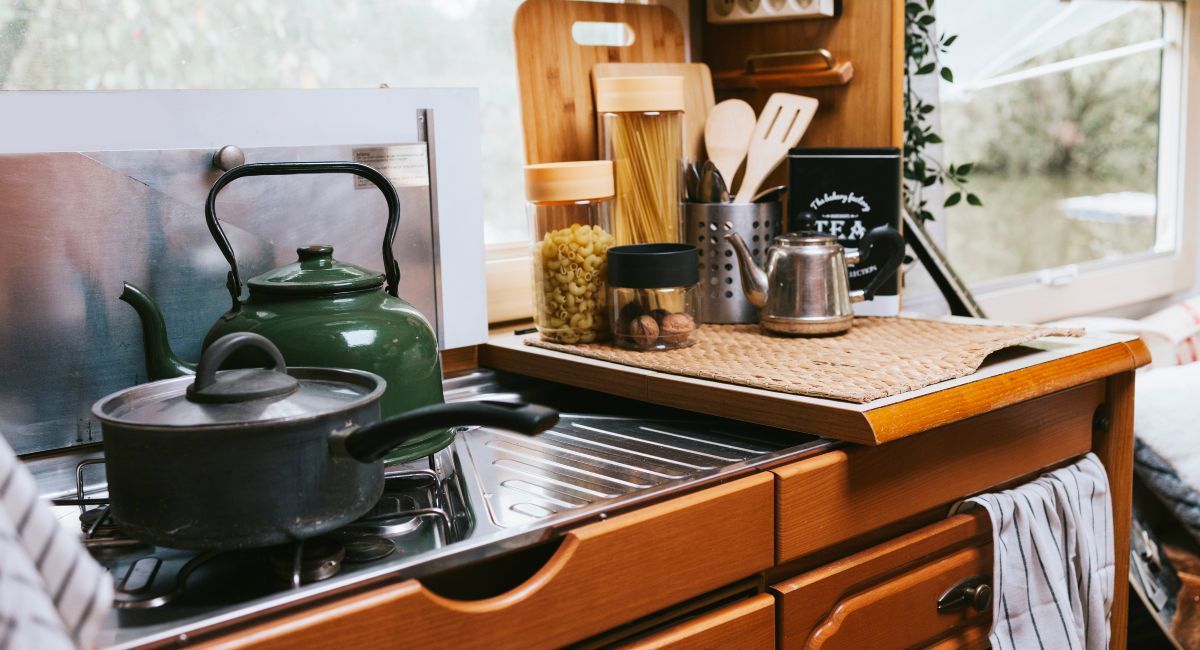
The RV kitchen essentials list is shorter than most first-time renters think: one frying pan, one or two pots, a sharp knife, a cutting board, nesting bowls, a fridge thermometer, and a meal plan built around your power source. Most rental RVs already have a propane stove, a fridge, and a sink. Your job is to fill the gaps and plan meals that fit a small fridge and the hookups (or lack of them) at your campsite.
In Brief
- Ask your host first. Many rentals include a basic kitchen kit; confirm what's onboard before you pack duplicates.
- Pack light and multipurpose: a skillet, a pot or two, nesting bowls, a good knife, and a cutting board cover most meals.
- Match appliances to power. Propane burners work anywhere; air fryers and induction plates need shore power or a generator.
- Keep the fridge at 40°F or below and check it with a thermometer.
- Plan every meal before you leave, and prep the messy parts at home.
What comes in a rental RV kitchen?
Most rental RVs come with a propane cooktop, a refrigerator, a sink, and often a microwave. Larger motorhomes and trailers may add an oven. Cookware, dishes, and utensils vary by host — some rigs come fully stocked, others empty — so ask for an inventory before you pack anything.
A quick message to your host saves you from packing a second set of pots or, worse, arriving with no can opener. Ask three questions:
- What cookware and utensils are onboard? Pots, pans, a kettle, knives, plates, mugs.
- What runs on propane and what needs electricity? This decides which meals work at a site with no hookups.
- Is there a coffee maker, and what kind? It matters more than you'd think on morning one.
In our experience, the RV oven is the least-used appliance onboard. Plenty of RVers we hear from use it for warming leftovers — or as a bread box — and do the real cooking on the stovetop or a grill outside. Our big guide to RV kitchens walks through the appliances you're likely to find.
What are the RV kitchen essentials to pack?
Pack a short list of multipurpose gear: one skillet, one or two pots, nesting bowls, a chef's knife, a cutting board, a spatula and tongs, a can opener, reusable containers, and dish soap with a quick-dry towel. Skip single-use gadgets. Small RV kitchens reward tools that do two jobs.
Airstream's own kitchen checklist puts it simply: "one frying pan, a cast iron skillet or Dutch oven, and one or two pots in different sizes should cover all your needs." We'd agree, and add a lid that fits both.
Cookware
- A 10- or 12-inch skillet (cast iron if you'll cook over a fire too)
- A medium pot with a lid for pasta, rice, and soups
- A small saucepan or kettle for coffee, tea, and oatmeal
- One sheet pan if your rig has an oven
Prep tools
- A sharp chef's knife and a paring knife
- A cutting board that fits over the sink — Airstream suggests you "cover your sink with a cutting board to create more counter space"
- Nesting mixing bowls, a spatula, tongs, a wooden spoon, a can opener, and measuring cups
Tableware and cleanup
- Unbreakable plates, bowls, and cups (one per person, plus one spare)
- Insulated mugs that double as drink cups
- Biodegradable dish soap, a scrub brush, microfiber towels, and trash bags
- Paper towels and foil — foil makes campfire dinners and easy cleanup
Food safety and storage
- A refrigerator thermometer
- Stackable reusable containers with lids
- A small cooler for drinks, so the fridge door stays closed
If you're still building your full packing list beyond the kitchen, our RV rental packing checklist covers bedding, tools, and campsite gear.
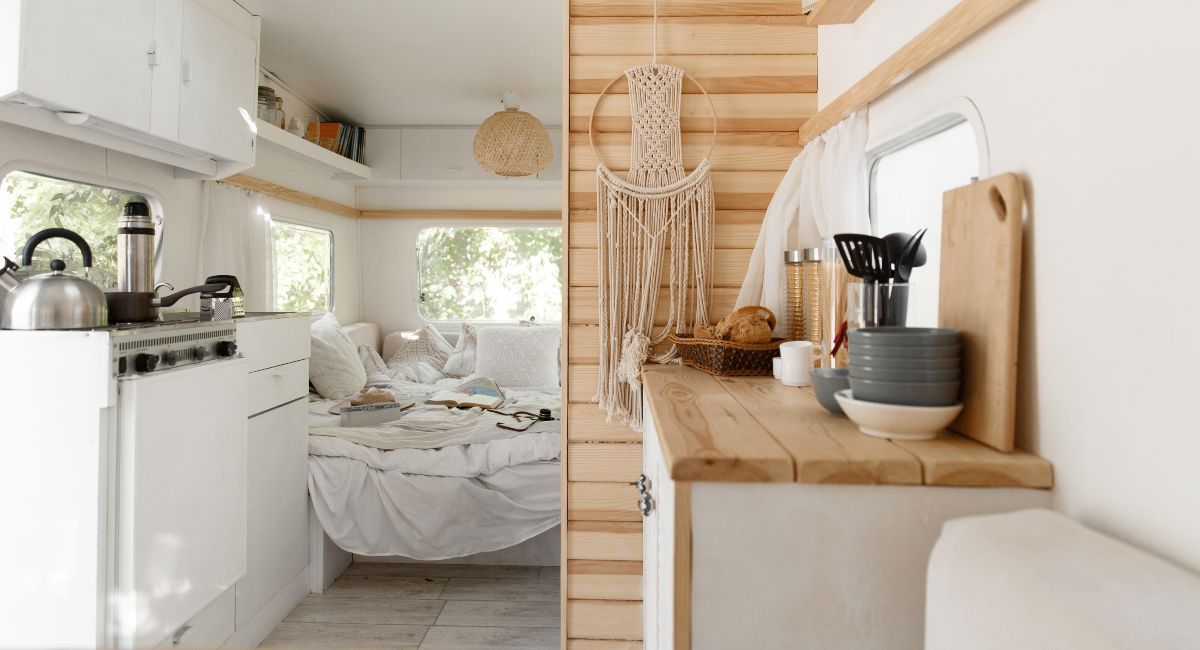
Which RV kitchen appliances work on hookups vs. off-grid?
Propane appliances — the stovetop, most RV ovens, and many RV fridges — work with or without hookups. Plug-in appliances like air fryers, induction cooktops, microwaves, and coffee makers need shore power or a generator, and each one can use a big share of your site's electrical capacity.
KOA explains that a 30-amp outlet supplies 3,600 watts, while a 50-amp RV provides a maximum of 12,000 watts. That 30-amp limit fills up fast. Run both at once and you've used nearly all of a 30-amp site — before the air conditioner kicks on.
- RV stovetop
Power source: Propane;
Works off-grid?: Yes. - RV oven (if equipped)
Power source: Propane;
Works off-grid?: Yes. - Absorption RV fridge
Power source: Propane or electric;
Works off-grid?: Yes, on propane. - Microwave
Power source: Electric;
Works off-grid?: Only with a generator or inverter. - Air fryer
Power source: Electric (about 1,700 W);
Works off-grid?: Only with a generator or a large inverter setup. - Induction plate
Power source: Electric (about 1,800 W);
Works off-grid?: Only with a generator or a large inverter setup. - Drip coffee maker
Power source: Electric;
Works off-grid?: Only with a generator or inverter.
We've watched renters plug in the air fryer and the coffee maker at the same time on a 30-amp site and trip the breaker before breakfast. Run one big appliance at a time, and see our RV electricity basics for the full picture.
How do you keep food cold in an RV fridge?
Keep your RV fridge at 40°F or below and your freezer at 0°F, and check both with an appliance thermometer. Turn the fridge on well before you load food — absorption fridges may need up to four hours of running time before the cooling unit is fully operational — and park as level as you can.
The USDA's Food Safety and Inspection Service says refrigerators should maintain a temperature no higher than 40°F, and an appliance thermometer lets you check it at all times. That matters in an RV, where the fridge works harder in summer heat.
Many RVs use absorption refrigerators, which behave differently from your fridge at home. Dometic's owner's manual notes that the first cooling cycle "may require up to four hours of running time before the cooling unit is fully operational," that leveling is a requirement for proper operation, and that you should cool the fridge before putting food inside. A few habits help:
- Turn the fridge on the night before your trip if the RV is delivered or at your home.
- Load cold food, not room-temperature groceries.
- Don't overpack. Air needs to circulate.
- Put drinks in a separate cooler so the fridge door stays shut.
What we've found is that a fridge that's already cold when you arrive takes most of the stress out of day one.
The USDA's outdoor food safety guidance backs that last tip: "Pack beverages in one cooler and perishable food in another cooler," and full coolers stay cold longer than half-full ones.
How do you plan meals for an RV trip?
Plan every meal before you leave, shop for the first two or three days, and prep the messy work at home: chop vegetables, marinate meat, and cook one dinner ahead to reheat on night one. Pick meals that share ingredients so your small fridge holds fewer half-used packages.
KOA recommends that you "plan out your entire trip menu for the best results, especially if you'll be away for a week or less," and prep ingredients before you go in sealed containers. Here's how we'd approach it:
- Write the menu by day, including snacks and drinks.
- Overlap ingredients. Taco night's peppers and onions become breakfast scrambles.
- Prep at home. Your kitchen at home has more counter space than any RV.
- Shop in stages. Restock fresh food every few days on longer trips instead of cramming the fridge.
- Plan one no-cook meal for the day the hike runs long.
In our experience, a double batch of chili or pasta sauce made at home is the easiest night-one dinner. You arrive, set up camp, and dinner just needs heat. For more ideas, browse our one-pot meals for RVing.
Easy RV meals: a 3-day sample plan
These easy RV meals use one pan or pot each, share ingredients, and work on a propane stovetop — no hookups needed. Swap in your family's favorites; the structure is what makes it work.
- Day 1 — Breakfast: Yogurt, granola, fruit; Lunch: Deli sandwiches; Dinner: Chili made at home, reheated, with cornbread.
- Day 2 — Breakfast: Breakfast burritos with peppers and eggs; Lunch: Leftover chili quesadillas; Dinner: One-pan chicken fajitas.
- Day 3 — Breakfast: Oatmeal with nuts and berries; Lunch: Fajita leftovers in a salad; Dinner: Pasta with sausage and spinach.
Cook to safe temperatures, especially over a campfire: the USDA says ground meats should reach 160°F and poultry 165°F. The same guidance says never to leave perishable food out for more than two hours — or one hour when it's above 90°F. A quick-read meat thermometer earns its drawer space.
You'll also want enough fresh water for cooking and dishes. Our guide to filling your RV's fresh water tank covers where and how.
How do you keep an RV kitchen from rattling?
Store heavy items low, nest everything that nests, and fill gaps with dish towels or shelf liner. Use cabinet bars or bins to keep cans and jars from sliding, and latch every door and drawer before you drive. We've heard more than one story of a cabinet full of mugs swinging open on the first sharp turn.
- Bins by category: breakfast, dinner, snacks. You'll grab one bin instead of digging.
- Non-slip shelf liner under plates and glasses.
- Tension rods or fridge bars to hold items in place while you drive.
- Nothing on the counter when the wheels are rolling.
Before you pull into a gas station, follow the propane safety rule in RV appliance manuals: Dometic's manual says that when refueling or parked near gasoline pumps, you should shut off all LP gas appliances.
Ready to cook somewhere new? Find an RV with the kitchen you want — browse RV rentals in Florida, RV rentals in California, or RV rentals near you. Make yourself at home. Anywhere.
About this guide
This guide was researched and written by the Outdoorsy editorial team. It draws on USDA Food Safety and Inspection Service guidance, Dometic refrigerator owner's manual instructions, KOA's RV electrical and meal-planning resources, Airstream's kitchen checklists, manufacturer appliance specifications, and patterns we see in RV community discussions and conversations with Outdoorsy hosts and renters. Appliance wattages vary by model; check the label on your own gear. We have no commercial relationship with the brands mentioned unless explicitly noted.